When creating a craft printable, the first step is to choose a design that you want to work with. You can either create your own design using graphic design software or download a pre-made template from the internet. Make sure to choose a design that is visually appealing and fits the theme of your craft project.
Once you have your design selected, it’s time to customize it to fit your needs. This may involve adding text, changing colors, or resizing elements to make sure everything fits on the page correctly. You can use software like Adobe Photoshop or Canva to make these adjustments easily.

Step 3: Print and Assemble
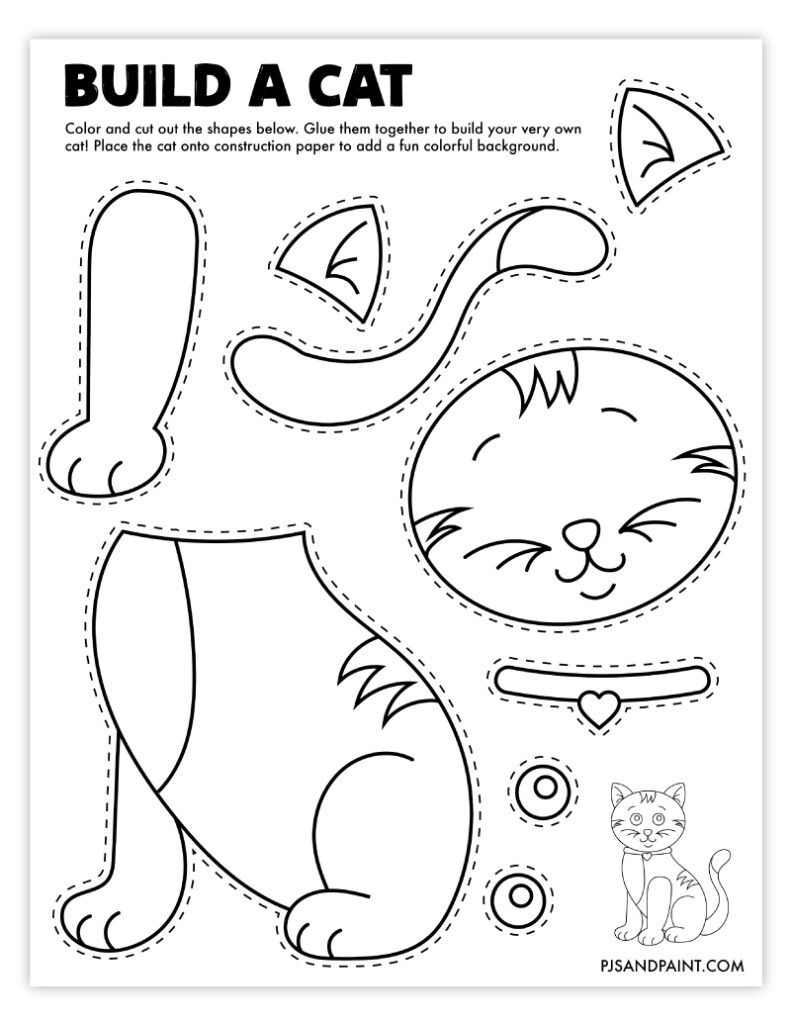
After customizing your printable, it’s time to print it out. Make sure you use high-quality paper and a good printer to ensure the best results. Once printed, follow the instructions on the printable to assemble your craft project. This may involve cutting, folding, and gluing pieces together to create the final product.